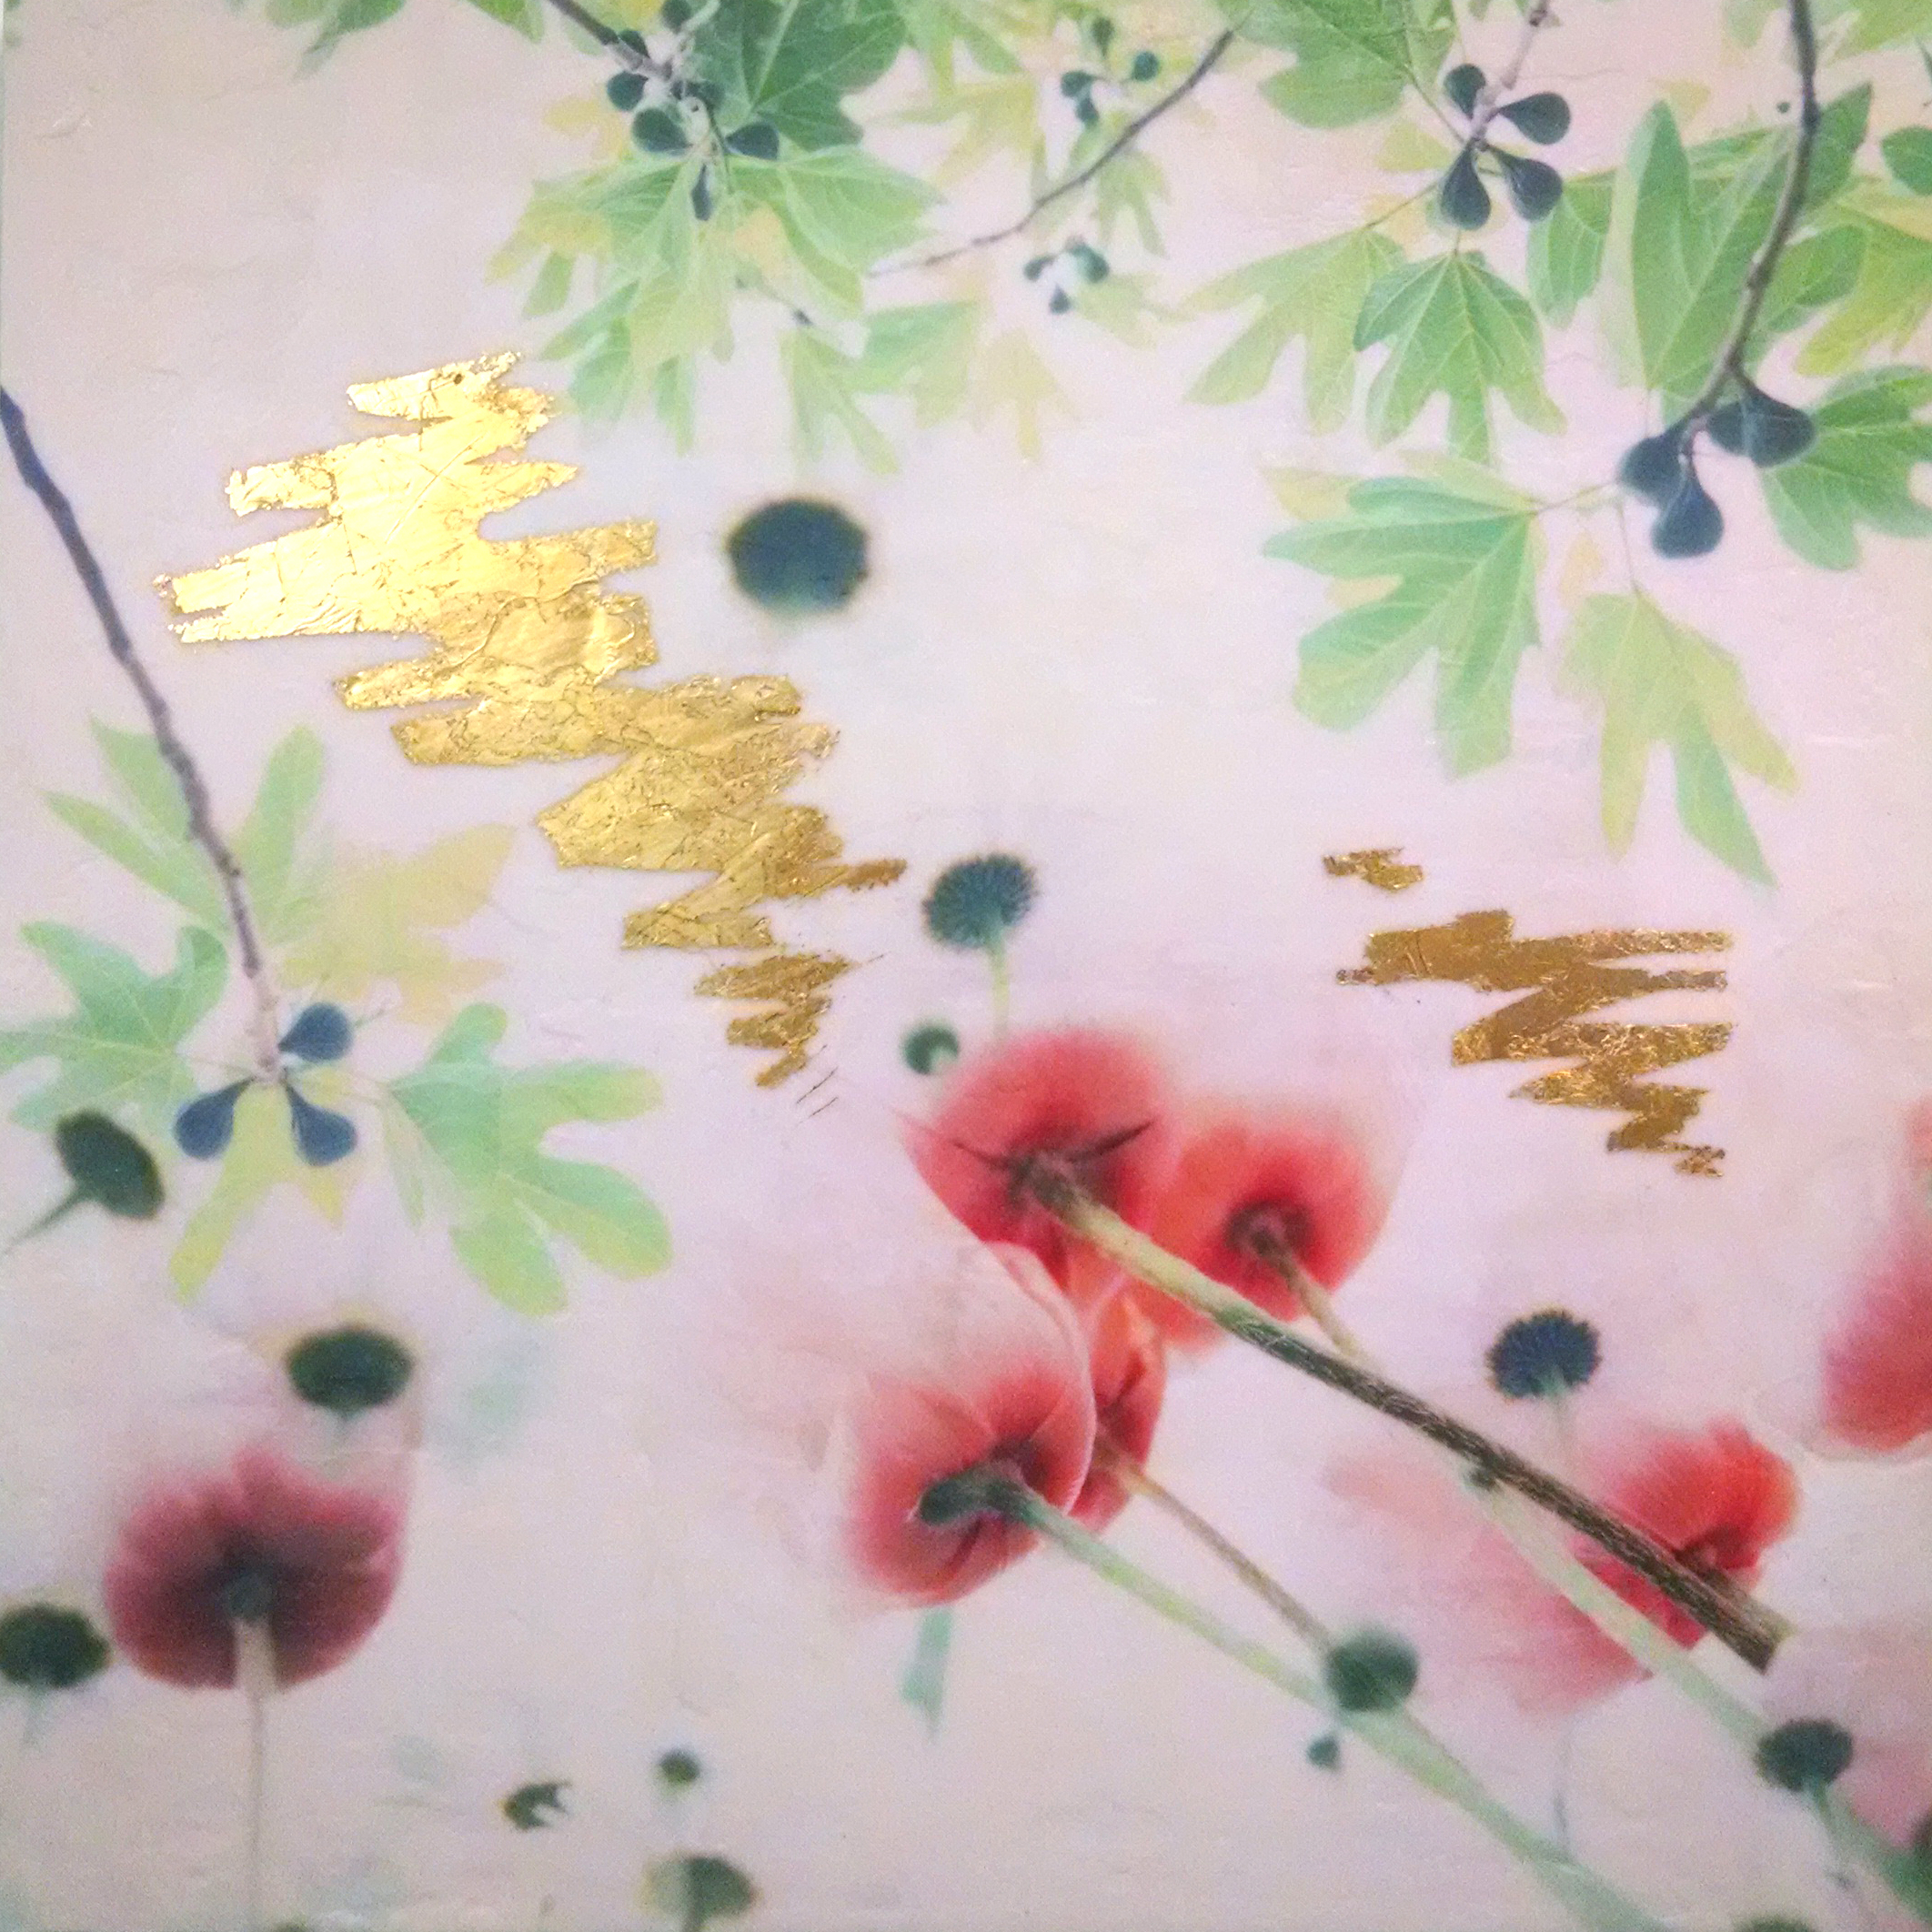
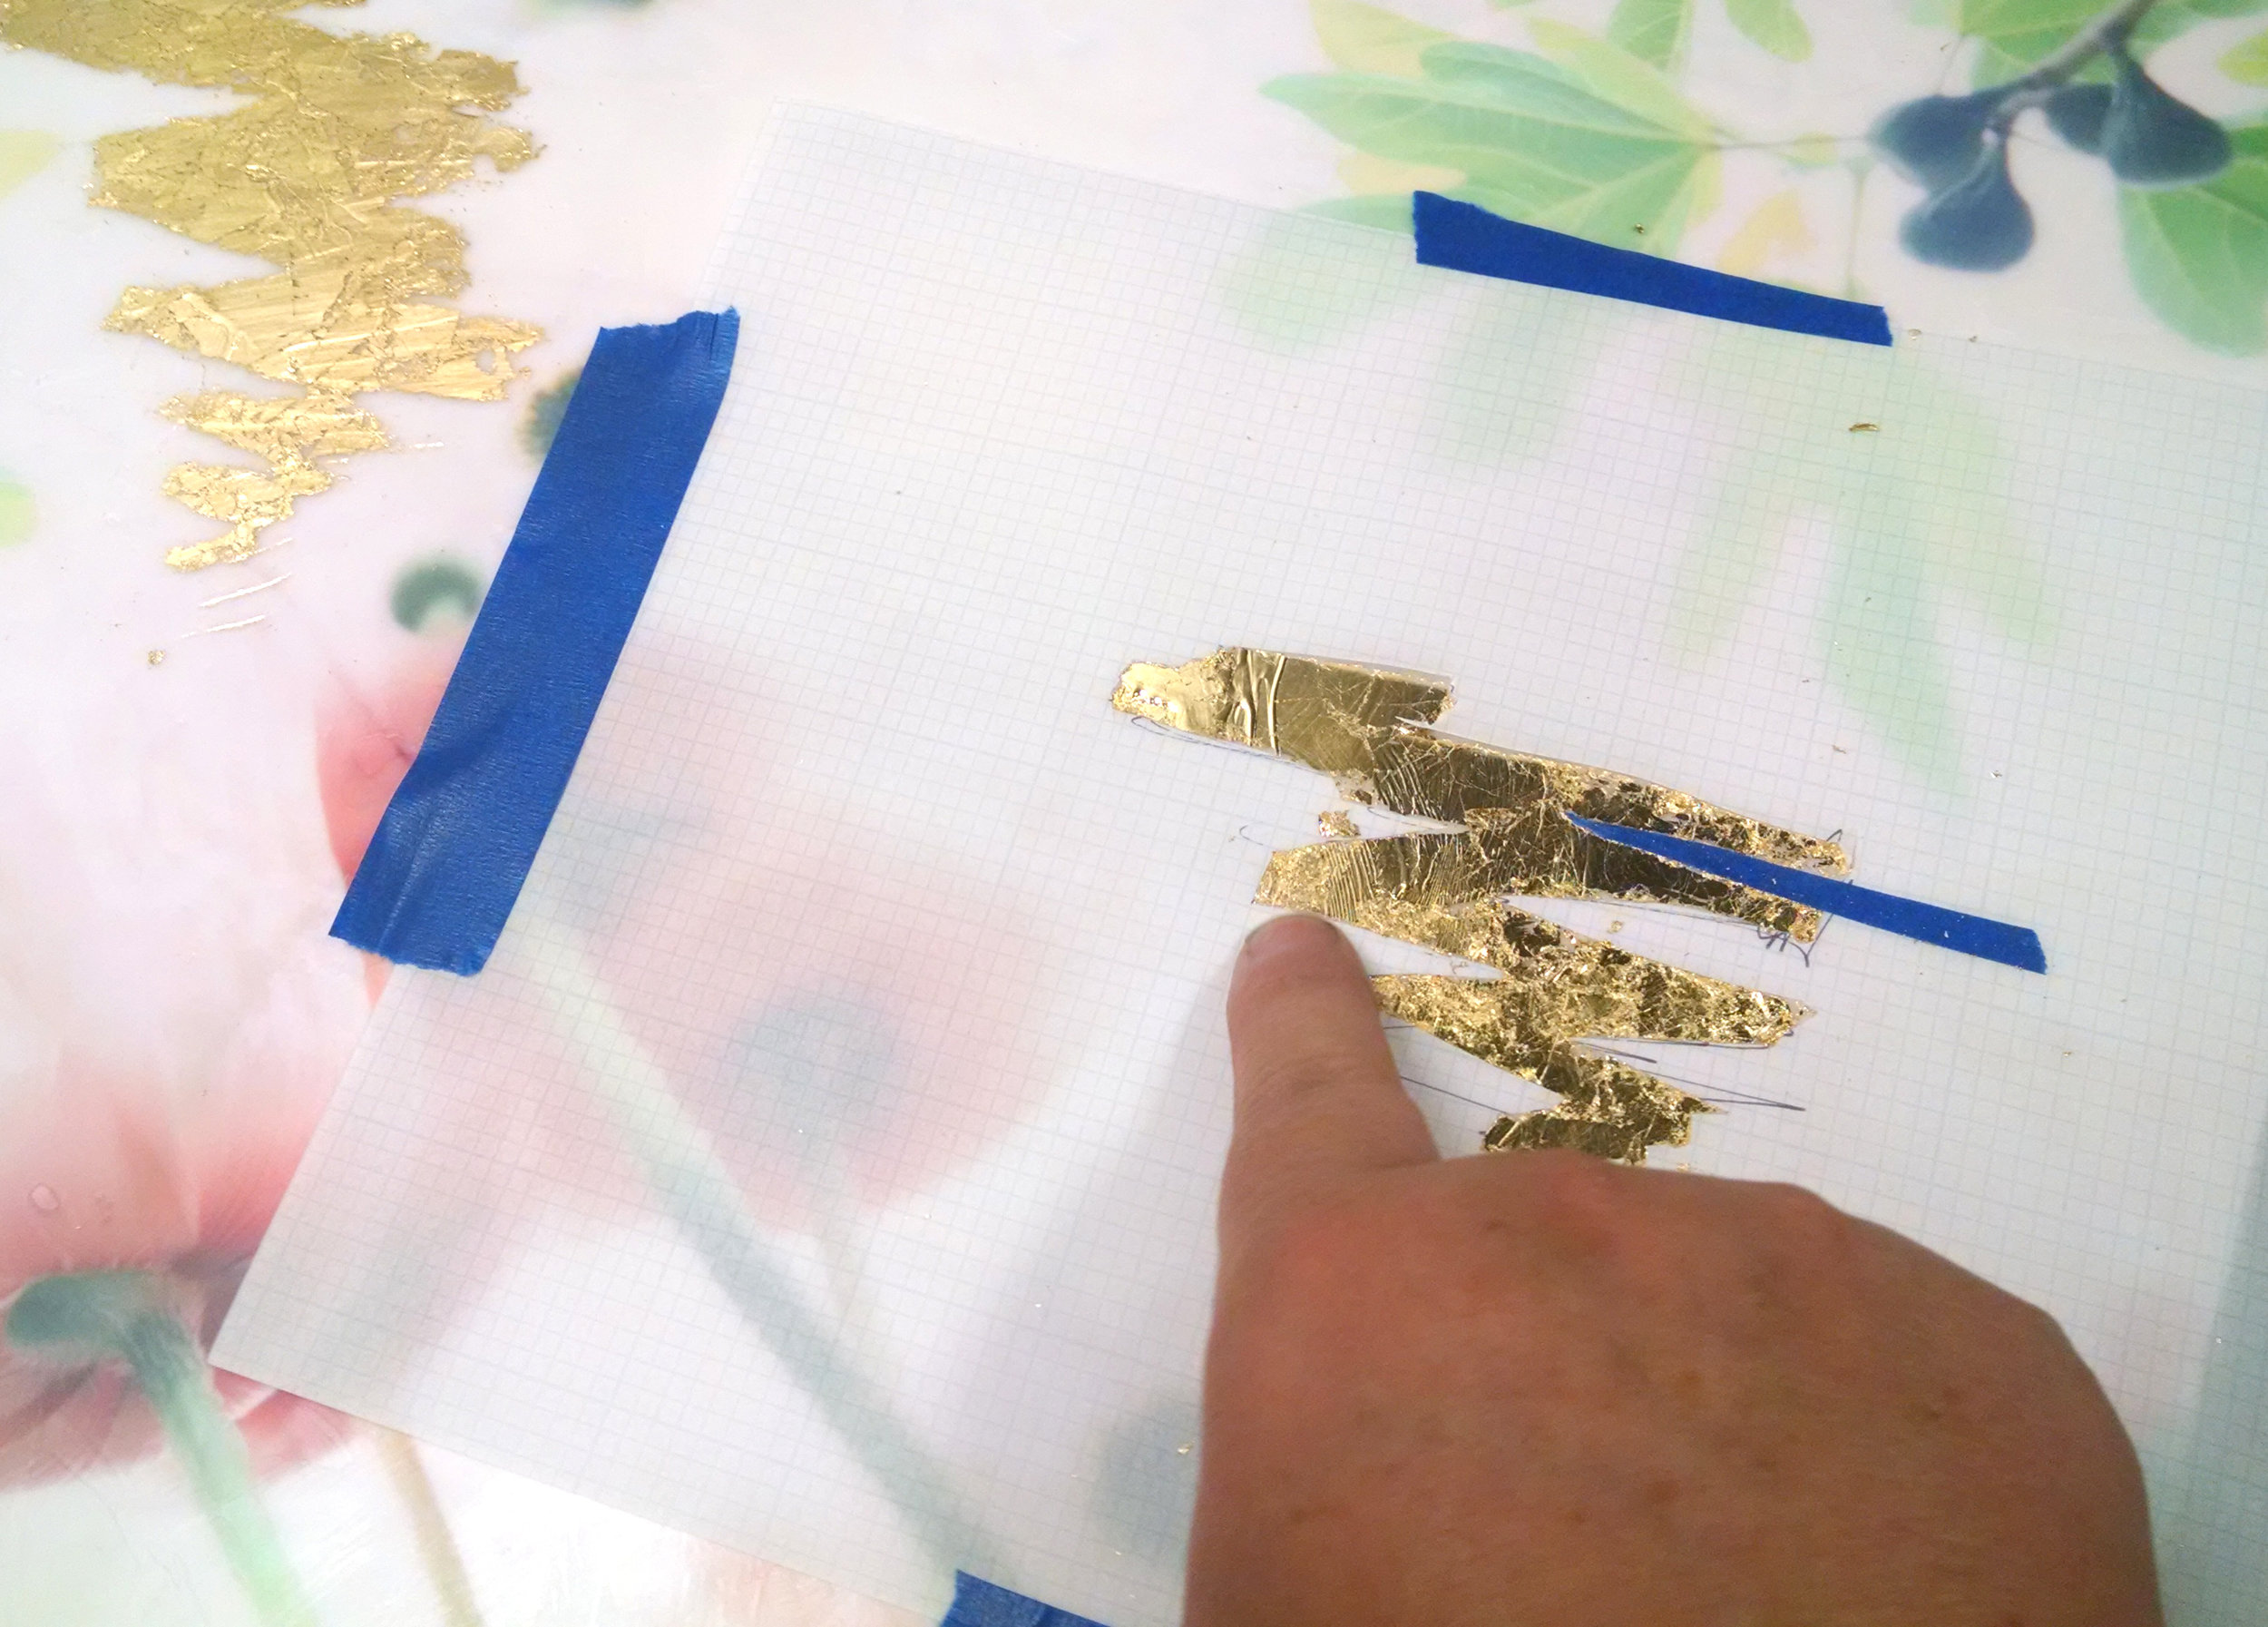
In creating new photo encaustic mixed media works, I often apply embellishments to the surface of the wax. Careful and controlled application is done through the use of custom stencils I make from scratch. To contain an area to add gold leaf, I need to block off or mask areas to leave untouched. This can be done by cutting out shapes from paper and laying them on top of the wax and taping in place. I use blue painter’s tape, as the adhesive is designed to release easily. It also doesn’t damage the wax at all. The hole (of whatever shape) created in my stencils allows me to add the metal leaf cleanly, then lift the mask away. The second method is to use tape to outline an area free form. This can take longer, and I often need to get creative with the application around curved and organic shapes. I often use this method when gilding narrow tree branches.
In the few times I’ve used glitter, I take much more care in preparing the surface to mask off every area not to be covered - the prep work needed is significantly more than when working with metal leaf. Glitter is notorious for being hard to control and going everywhere. Luckily, both metal leaf and glitter are fairly easy to remove with blue tape - the adhesive picks it up without damage to the wax surface.


When the mask or stencil is removed, the embellishment needs a final heat set to get it to remain more permanently on the surface. I do this by rubbing - friction both pushes it into the wax surface for a better bond, and it also causes the wax to warm and helps with the adhesion. A heat gun or torch can also be used, but there’s a fine line before the surface heats up too much and it starts to move and break up. Due to the glitter being such a large size, I typically finish with a very light application of a heating gun, but rarely use an external heat source for metal leafing.


